Abstract
This is a simple and minimal guide for getting vue.js up and runnning with electron.
Documentation:
Vue.js
 1# install and run vue scaffholding tool
 2npm init vue@latest
 3# replace <project-name> with the name you specified
 4cd <project-name>
 5# install dependecies
 6yarn
 7# or
 8npm
 9# start dev server
10yarn dev
11# or
12npm run dev
This should output:
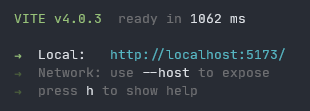
more info on setting up a vue.js project1
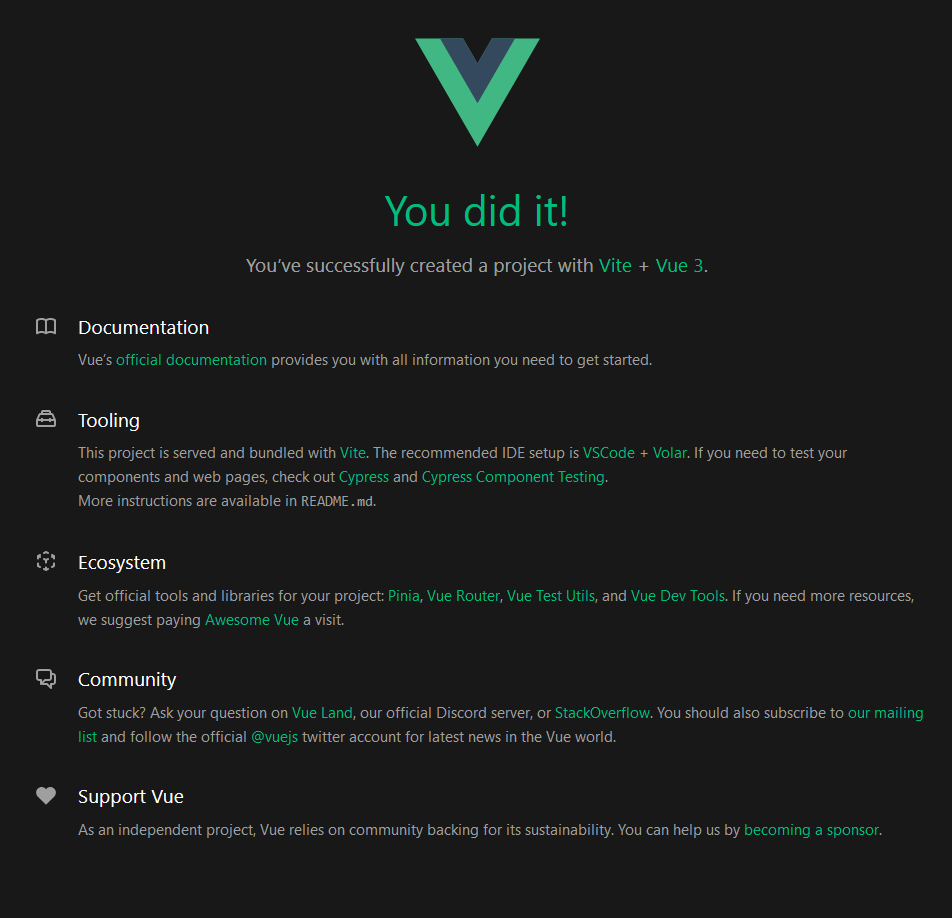
Navigating to localhost:<port> (take a look at the port in the console output) should display the following:
Electron
Adding electron to the project
1# install electron as a dev dependecy
2yarn add -D electron@latest
3# or
4npm install --save-dev electron
Create and open main.js at the root of your project. Paste the following into it:
 1const { app, BrowserWindow } = require("electron");
 2const path = require("path");
 3
 4// function to create the window from our vue.js project
 5function createWindow() {
 6  // get a new instance of window with specified dimensions
 7  const window = new BrowserWindow({
 8    width: 800,
 9    height: 600,
10    webPreferences: {
11      nodeIntegration: true,
12    },
13  });
14
15  // vue.js outputs to ./dist, therefore we load our index.html from there
16  window.loadURL(path.join(__dirname, `/dist/index.html`));
17  window.on("closed", function () {
18    window = null;
19  });
20}
21
22// create the window once electron finished starting
23app.on("ready", createWindow);
24
25// if all instances of our window are closed close the parent instance
26app.on("window-all-closed", function () {
27  if (process.platform !== "darwin") app.quit();
28});
29
30app.on("activate", function () {
31  if (mainWindow === null) createWindow();
32});
After this, add the following highlighted lines to your package.json:
 1{
 2  "name": "electron-vue",
 3  "version": "0.0.0",
 4  "private": true,
 5  "main": "main.js",
 6  "scripts": {
 7    "dev": "vite",
 8    "start-electron": "vite build && electron .",
 9    "build": "run-p type-check build-only",
10    "preview": "vite preview",
11    "test:unit": "vitest --environment jsdom --root src/",
12    "build-only": "vite build",
13    "type-check": "vue-tsc --noEmit -p tsconfig.vitest.json --composite false"
14  }
15}
Tip
- To develop the application in the browser, run:
yarn dev - To view the application in a electron instance, run:
yarn start-electron
Warning
While running the yarn start-electron command one will notice the lack of content in the newly spawned electron window.
To fix this, add the following to your vite.config.js:
 1import { fileURLToPath, URL } from "node:url";
 2
 3import { defineConfig } from "vite";
 4import vue from "@vitejs/plugin-vue";
 5import vueJsx from "@vitejs/plugin-vue-jsx";
 6
 7// https://vitejs.dev/config/
 8export default defineConfig({
 9  plugins: [vue(), vueJsx()],
10  resolve: {
11    alias: {
12      "@": fileURLToPath(new URL("./src", import.meta.url)),
13    },
14  },
15  base: "./",
16});
Packaging the Application
To package our application we will use electron-forge.
- Installing electron forgeBASH
1yarn add -D @electron-forge/cli 2# or 3npm install --save-dev @electron-forge/cli - Importing the project into electron forgeBASH
1npx electron-forge import - Packaging the applicationBASH
1yarn package
2# or
3npm run package
Navigate to <project>/out/<project>-<os>-<arch>, here you can find the generated files for the project.
Creating a installer
The installer allows users to click on a executable and have it install on their system.
Tip
The installer requires an author and a description, otherwise it won’t run. To fulfil these requirements we need to add the following to our package.json: (replace <author> with your name)
 1{
 2  "name": "electron-vue",
 3  "version": "0.0.0",
 4  "private": true,
 5  "main": "main.js",
 6  "author": "<author>",
 7  "description": "test app",
 8  "scripts": {
 9    "dev": "vite",
10    "dev-electron": "vite build && electron .",
11    "start": "electron-forge start",
12    "build": "run-p type-check build-only",
13    "preview": "vite preview",
14    "test:unit": "vitest --environment jsdom --root src/",
15    "build-only": "vite build",
16    "type-check": "vue-tsc --noEmit -p tsconfig.vitest.json --composite false",
17    "package": "electron-forge package",
18    "electron": "electron-forge make",
19    "make": "electron-forge make"
20  }
21}1yarn makeWait for the completion and navigate to out/make/<maker>/<arch>/ and take a look at the binary it created in the format: <name>-<version> Setup.*.
PS - Update
To develop in an electron instance, add the following to your package.json:
 1{
 2  "name": "electron-vue",
 3  "version": "0.0.0",
 4  "private": true,
 5  "main": "main.js",
 6  "author": "<author>",
 7  "description": "test app",
 8  "scripts": {
 9    "dev": "vite",
10    "dev:build": "vite build --watch",
11    "start": "electron-forge start",
12    "build": "run-p type-check build-only",
13    "preview": "vite preview",
14    "test:unit": "vitest --environment jsdom --root src/",
15    "build-only": "vite build",
16    "type-check": "vue-tsc --noEmit -p tsconfig.vitest.json --composite false",
17    "package": "electron-forge package",
18    "electron": "electron-forge make",
19    "make": "electron-forge make"
20  }
21}
Now run yarn dev:build in one terminal and yarn start in an other terminal.
- the first watches for changes and rebuilds the vue.js project once changes are detected.
- the second terminal starts the electron instance containing your project